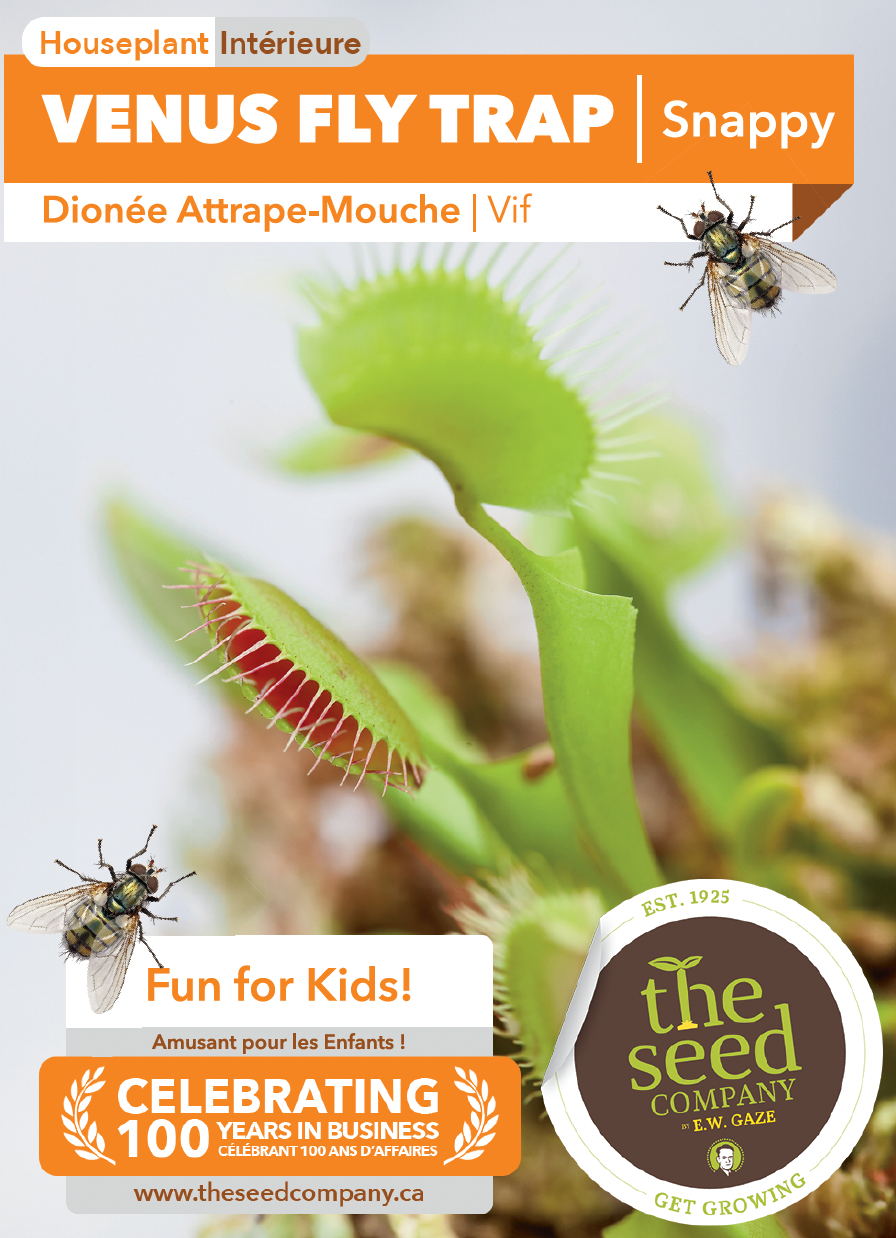
Fun for Kids!
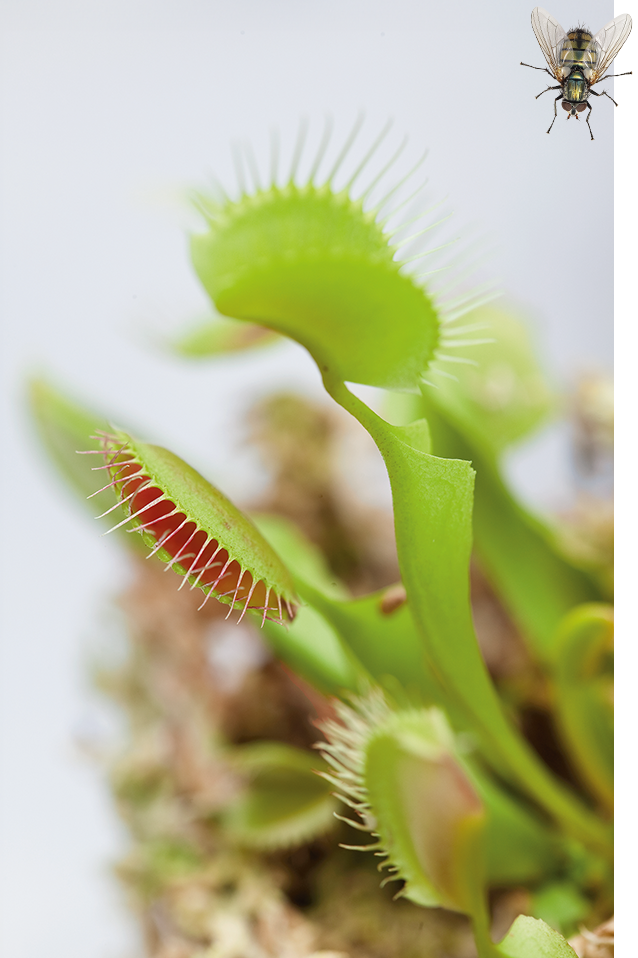
The Venus Fly Trap is a captivating carnivorous plant, famed for its jaw-like leaves that snap shut on unsuspecting insects. Provide a humid environment with sphagnum moss, mineral-free water, and plenty of light.
Year-round indoors
Step-by-Step Instructions for growing Venus flytraps from seeds:
- Start by preparing your “soil.” Use the same soil that is the growing medium for adult Venus flytraps. We recommend sphagnum moss mixed with silica sand at a 1:1 ratio by volume. Do not use soil with other ingredients added, such fertilizer. No “potting soil” and no Miracle-Gro because they contain minerals that will kill Venus flytraps. It is highly recommended that, whatever soil you choose, you sterilize the soil before sowing the seeds, using an oven at 200ºF for 30 minutes. This will prevent mold and algae growth, at least until it is reintroduced to the soil.
- Next, prepare a growing container. This container keeps the seeds moist and warm but should allow for air circulation. A good easy choice is a Tupperware-type container. Poke holes in the top cover for airflow, and also the bottom portion for drainage. The holes in the lid provide ventilation for air circulation. They also allow for excess heat to escape from inside the container. Another option is to use any regular pot or planting container and cover the top with a clear plastic bag.

-
Moisten the growing medium with Distilled Water and place the growing medium into the container. Now you are ready to plant the seeds!
- Do NOT bury the seeds. Do not plant seeds underground. Instead, scatter the seeds on top of the moist growing medium. Then sift a very fine dust of sphagnum peat moss over the seeds. The very light dusting helps to retain moisture near the seed. It also helps keep the emerging root from drying out and becoming calloused and stunted. It further gives the seed something to push against as the root emerges and seeks to dig itself into the soil. However, the seeds should only be very lightly covered. Only cover the seeds to the point where you can still see them through the dusting. Cover them too much and they may not germinate. If you can no longer see the seed after dusting them with the sphagnum peat moss, that’s too much of a dusting!
- Spray Distilled water on the dusting of peat moss to moisten it and the seeds. Then cover the container with the vented lid. Germination can take between 10 days and 30 days, depending on conditions. If kept fairly warm, the seeds should begin to germinate in 13-15 days with most of the germination finishing in 20 days, but some stranglers take over a month. Once most of the seeds have germinated, within 4-6 weeks, the covering can be permanently removed.
-
Place your germination chamber somewhere with bright indirect light. Do not place the container direct sunlight. This will cause it to overheat both the air and soil inside, which can damage or kill the seeds and germinating plants. Bright indirect light is best. Once most of the seeds have germinated, remove the container cover. Gradually give the seedlings more and more direct sunlight. Grown Venus flytraps require a lot of light, around 3-4 hours a day of good light as a minimum.
- During the germination period of about 13-35 days, keep the growing medium moist and warm. To water the seeds, either a) use a spray bottle to gently wet the soil surface and continue to spray to saturate the medium until some water drains out, or b) place the growing container in a container holding Distilled water, and allow the soil to suck water upward through the drain holes in the bottom of your growing container.
- Ensure that the soil surface is always moist. This allows the newly emerging root to have water to pull from and continue to grow. Use mineral-free water ONLY: Distilled water, reverse-osmosis water, or clean rainwater. Later, when the seedlings are transplanted out of their temporary germination chamber, lower the water content and allow the plants to have more air. Venus flytraps, once they are past the tiny seedling stage, grow very healthy in just-moist rather than soggy or saturated soil. Although, take care to ensure that the soil never completely dries out.
- Keep your growing container humid. This is automatically accomplished by the covering of the container. Though the interior of the chamber should be humid, lift the lid of the container at least once a day and fan the air. This freshens the air and prevents mold. Though the humidity needs to be higher with newly germinating seeds, your later developed and transplanted Venus flytrap plants do not require higher humidity.
-
Keep your growing container at a warm temperature. The optimal temperature to germinate Venus flytraps seeds is above 78 degrees Fahrenheit and up to 90 degrees Fahrenheit (24-32 or more degrees Celsius/Centigrade. Seeds kept at much lower temperatures than this will take longer to germinate (3-5 weeks versus 13-15 days) or may not germinate at all if it is too cold. You can germinate seeds in temperatures somewhat lower than the optimal, but they will take longer to germinate.
- After several weeks of growth, transplant your Venus flytrap seedlings to a more permanent uncovered container. Do the transplant when the “cotyledons” (the two first leaves, the seed leaves) are almost fully extended out of the seed and the first tiny true trap leaf is forming. At this stage, the plant has a base and a tiny root that can be transplanted. The root helps to anchor the plant in its new growing medium. The root also helps it to adapt to conditions of lesser humidity and more light. An easy way to transplant is to use a moist wooden toothpick. Poke a tiny hole in the new and rinsed-of-minerals growing medium for the plant, gently lower the toothpick into the soil near the plant and lift it out of the soil with the root intact, transfer the plant to the tiny hole in its new growing container and gently orient it properly (leaves up, base and root down) then very gently settle it into the new hole with the toothpick a very light touch of a finger, lightly covering in any gaps with growing medium.

NEW 2024
Venus Fly Trap | Snappy
Growing Information
Days to Sprout:
Seed Spacing:
Plant Spacing:
Days to Harvest:
Plant Height:

Light Required:
Fun for Kids!
The Venus Fly Trap is a captivating carnivorous plant, famed for its jaw-like leaves that snap shut on unsuspecting insects. Provide a humid environment with sphagnum moss, mineral-free water, and plenty of light.
Year-round indoors
Step-by-Step Instructions for growing Venus flytraps from seeds:
- Start by preparing your “soil.” Use the same soil that is the growing medium for adult Venus flytraps. We recommend sphagnum moss mixed with silica sand at a 1:1 ratio by volume. Do not use soil with other ingredients added, such fertilizer. No “potting soil” and no Miracle-Gro because they contain minerals that will kill Venus flytraps. It is highly recommended that, whatever soil you choose, you sterilize the soil before sowing the seeds, using an oven at 200ºF for 30 minutes. This will prevent mold and algae growth, at least until it is reintroduced to the soil.
- Next, prepare a growing container. This container keeps the seeds moist and warm but should allow for air circulation. A good easy choice is a Tupperware-type container. Poke holes in the top cover for airflow, and also the bottom portion for drainage. The holes in the lid provide ventilation for air circulation. They also allow for excess heat to escape from inside the container. Another option is to use any regular pot or planting container and cover the top with a clear plastic bag.
-
Moisten the growing medium with Distilled Water and place the growing medium into the container. Now you are ready to plant the seeds!
- Do NOT bury the seeds. Do not plant seeds underground. Instead, scatter the seeds on top of the moist growing medium. Then sift a very fine dust of sphagnum peat moss over the seeds. The very light dusting helps to retain moisture near the seed. It also helps keep the emerging root from drying out and becoming calloused and stunted. It further gives the seed something to push against as the root emerges and seeks to dig itself into the soil. However, the seeds should only be very lightly covered. Only cover the seeds to the point where you can still see them through the dusting. Cover them too much and they may not germinate. If you can no longer see the seed after dusting them with the sphagnum peat moss, that’s too much of a dusting!
- Spray Distilled water on the dusting of peat moss to moisten it and the seeds. Then cover the container with the vented lid. Germination can take between 10 days and 30 days, depending on conditions. If kept fairly warm, the seeds should begin to germinate in 13-15 days with most of the germination finishing in 20 days, but some stranglers take over a month. Once most of the seeds have germinated, within 4-6 weeks, the covering can be permanently removed.
-
Place your germination chamber somewhere with bright indirect light. Do not place the container direct sunlight. This will cause it to overheat both the air and soil inside, which can damage or kill the seeds and germinating plants. Bright indirect light is best. Once most of the seeds have germinated, remove the container cover. Gradually give the seedlings more and more direct sunlight. Grown Venus flytraps require a lot of light, around 3-4 hours a day of good light as a minimum.
- During the germination period of about 13-35 days, keep the growing medium moist and warm. To water the seeds, either a) use a spray bottle to gently wet the soil surface and continue to spray to saturate the medium until some water drains out, or b) place the growing container in a container holding Distilled water, and allow the soil to suck water upward through the drain holes in the bottom of your growing container.
- Ensure that the soil surface is always moist. This allows the newly emerging root to have water to pull from and continue to grow. Use mineral-free water ONLY: Distilled water, reverse-osmosis water, or clean rainwater. Later, when the seedlings are transplanted out of their temporary germination chamber, lower the water content and allow the plants to have more air. Venus flytraps, once they are past the tiny seedling stage, grow very healthy in just-moist rather than soggy or saturated soil. Although, take care to ensure that the soil never completely dries out.
- Keep your growing container humid. This is automatically accomplished by the covering of the container. Though the interior of the chamber should be humid, lift the lid of the container at least once a day and fan the air. This freshens the air and prevents mold. Though the humidity needs to be higher with newly germinating seeds, your later developed and transplanted Venus flytrap plants do not require higher humidity.
-
Keep your growing container at a warm temperature. The optimal temperature to germinate Venus flytraps seeds is above 78 degrees Fahrenheit and up to 90 degrees Fahrenheit (24-32 or more degrees Celsius/Centigrade. Seeds kept at much lower temperatures than this will take longer to germinate (3-5 weeks versus 13-15 days) or may not germinate at all if it is too cold. You can germinate seeds in temperatures somewhat lower than the optimal, but they will take longer to germinate.
- After several weeks of growth, transplant your Venus flytrap seedlings to a more permanent uncovered container. Do the transplant when the “cotyledons” (the two first leaves, the seed leaves) are almost fully extended out of the seed and the first tiny true trap leaf is forming. At this stage, the plant has a base and a tiny root that can be transplanted. The root helps to anchor the plant in its new growing medium. The root also helps it to adapt to conditions of lesser humidity and more light. An easy way to transplant is to use a moist wooden toothpick. Poke a tiny hole in the new and rinsed-of-minerals growing medium for the plant, gently lower the toothpick into the soil near the plant and lift it out of the soil with the root intact, transfer the plant to the tiny hole in its new growing container and gently orient it properly (leaves up, base and root down) then very gently settle it into the new hole with the toothpick a very light touch of a finger, lightly covering in any gaps with growing medium.